
Welcome to my new studio!
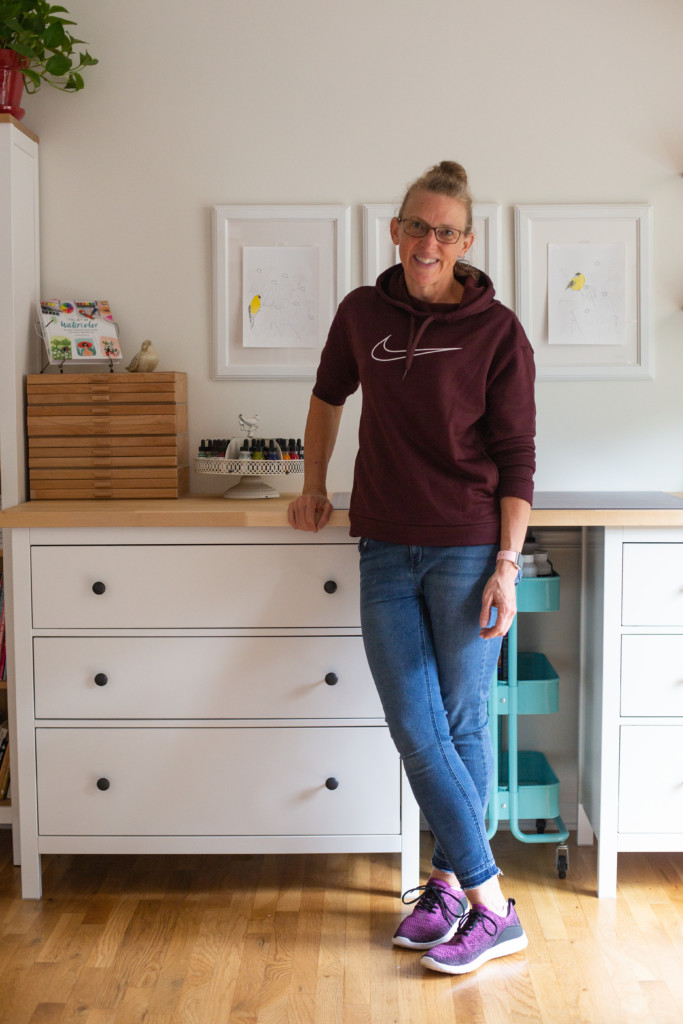
Can you tell that I have absolutely no idea how to pose myself?! Hahaha
After 6 years of working out of a small, dark office/studio space in the corner of my bedroom, I decided to act on a friend’s idea of turning a (basically unused) front room of our house into my new studio space.
I can’t even begin to tell you how happy I am with this new, bright space.
Would you like a tour? Please come on in!
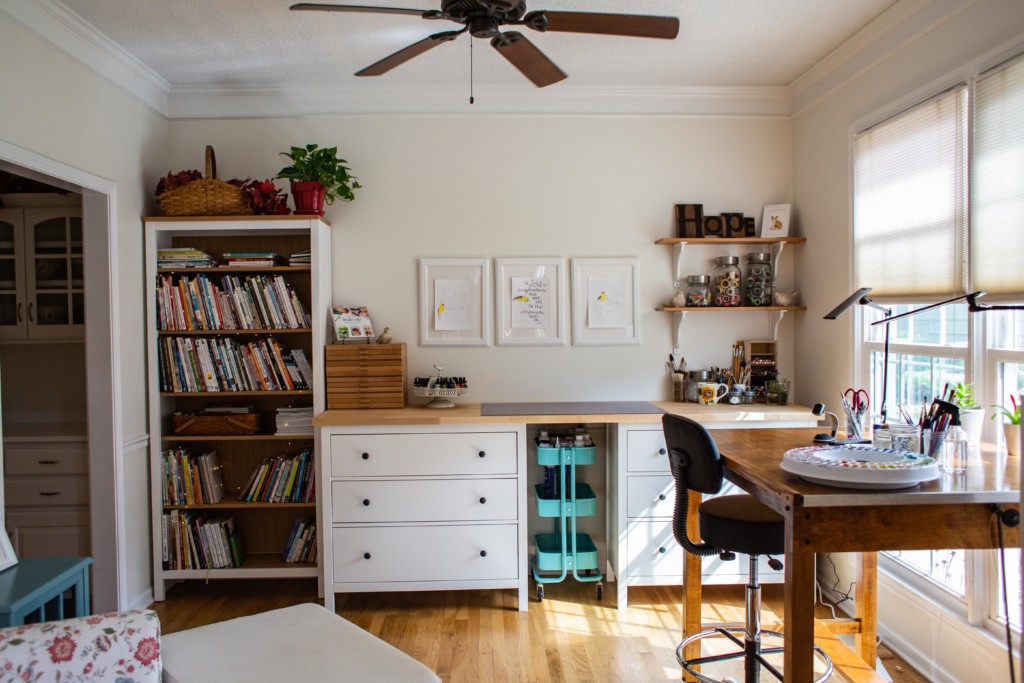
This room was intended to be a dining room, but it’s only 11′ x 11′ which is *way* too small for our dining room table. When all of my kids are over for a meal there are 13 of us so I have my dining room table in a slightly larger room off of the living room. It’s not next to the kitchen, but it works for us.
This poor room was definitely the “ugly duckling” of the house. If I had known what a huge transformation this project would be, I would have taken some “before” photos. Sadly, I didn’t.
I did find a few photos on my phone which will give you an idea of what it looked like before I painted and went on several IKEA runs. The walls were desperately in need of fresh paint.
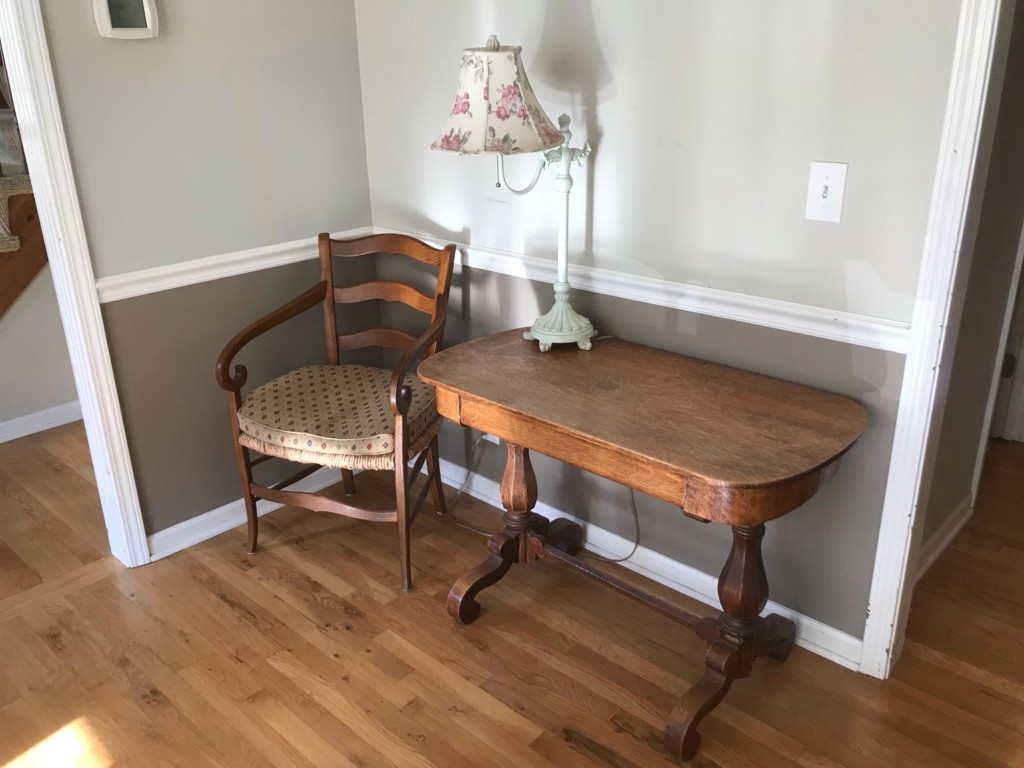
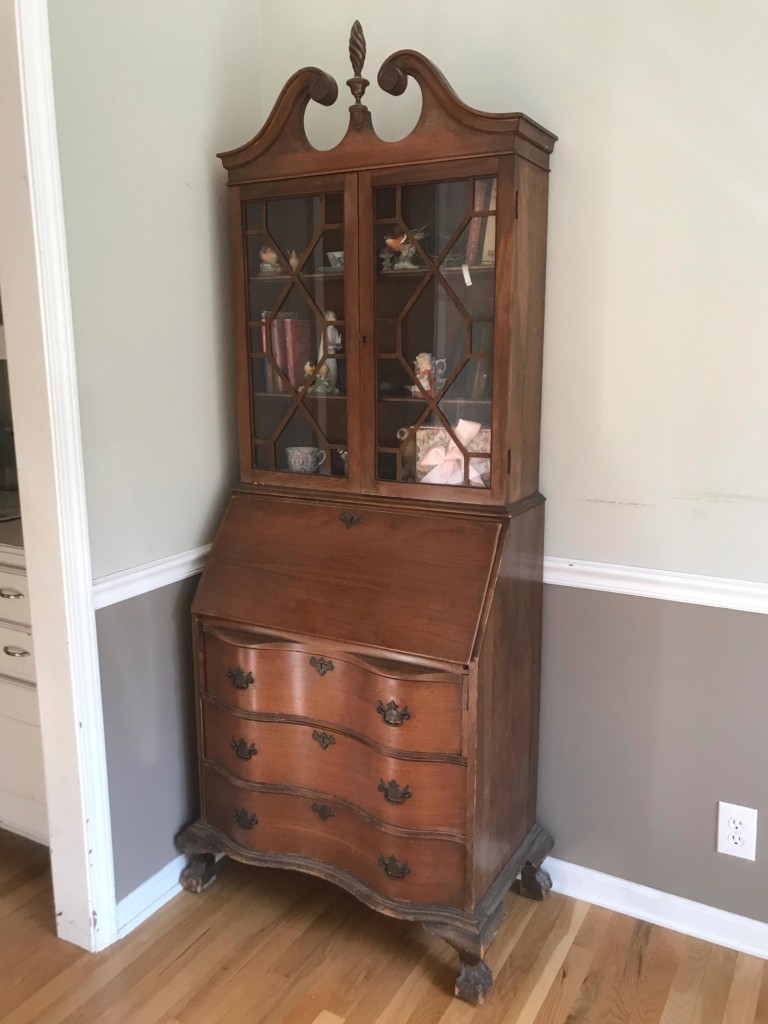
After seeing Emily’s IKEA hack and studio/office space, I decided to sell some antique furniture so that I could do something similar in my new studio. I initially had mixed feelings about selling the antiques, but found that it was actually a relief to send them along to new homes.
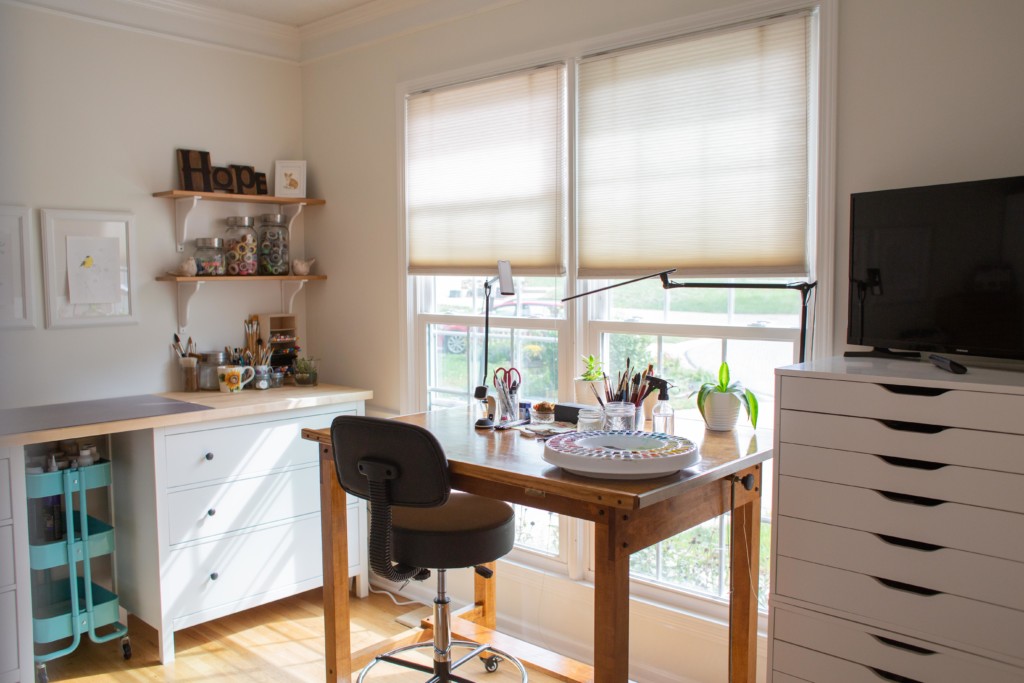
Emily decided to saw the legs off of the IKEA Hemnes dressers in order to make them shorter so that she could use them as a desk area. I am pretty tall, so I opted to leave the legs on the dressers, put a 98″ wood Karlby countertop on them and use them as a standing workspace.
This room has lovely east-facing windows. Isn’t the light is exquisite?
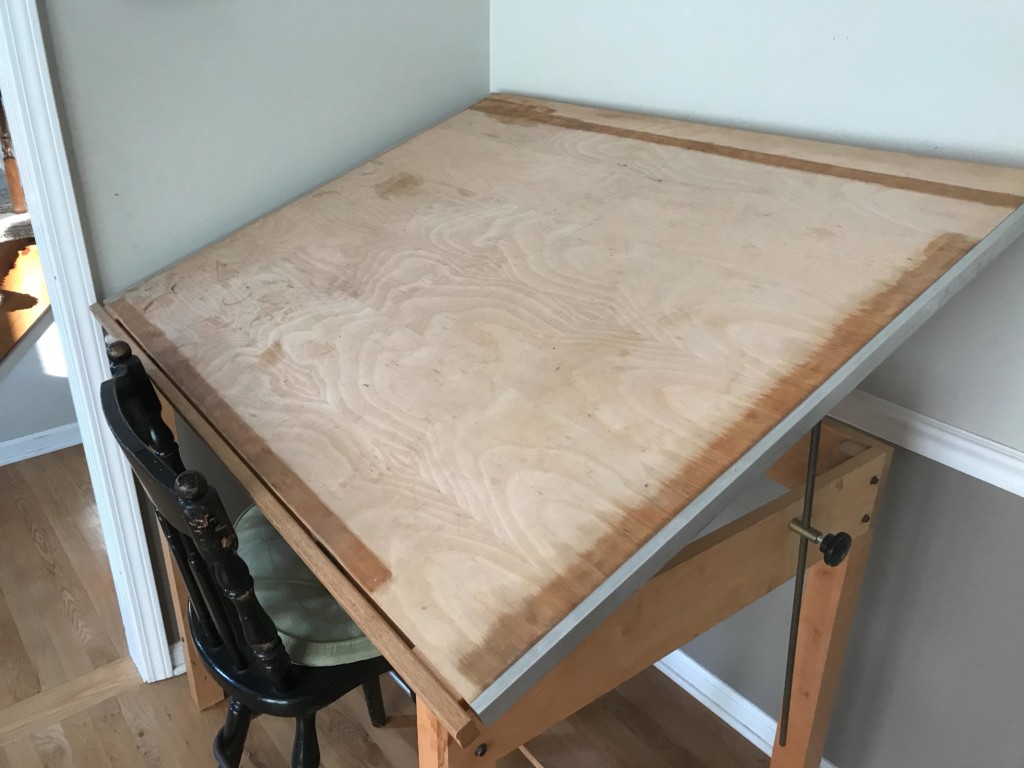
See that beautiful drafting table? Someone in our neighborhood sold it to me several years ago, and I held onto it, waiting until I had a proper studio space so I could use it. This is what it looked like before I refinished it.
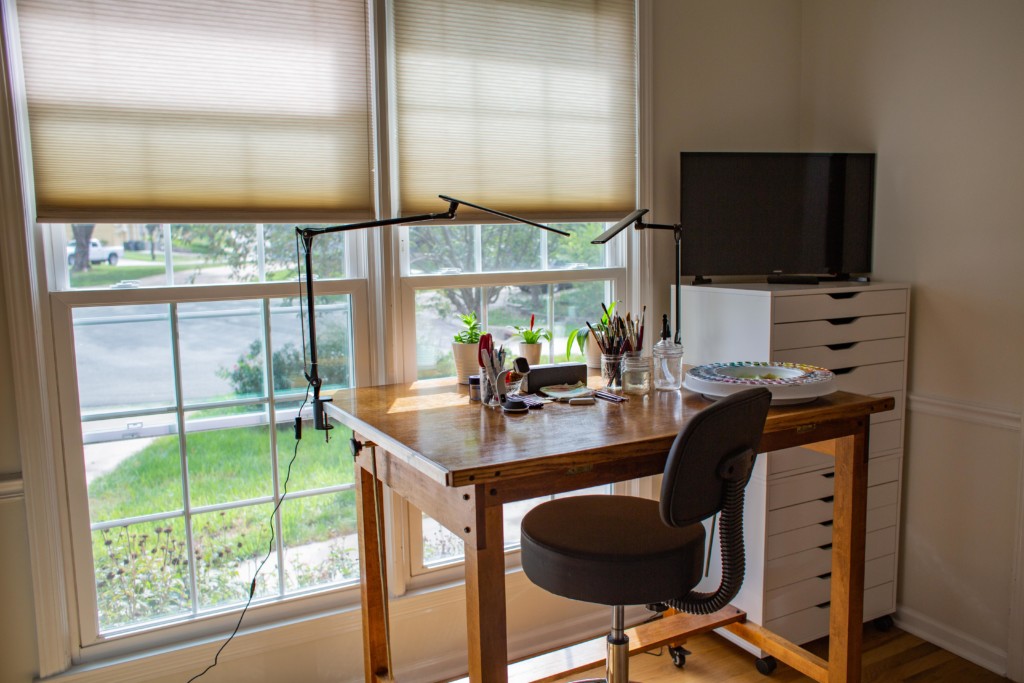
I think it turned out so pretty. I almost always use it with the table top down, but can elevate it. I love how large it is! To the right of my drafting table, you can see the IKEA Alex units. I stacked two units, using the casters on the bottom set of drawers. This is where I store my paper and shipping supplies.
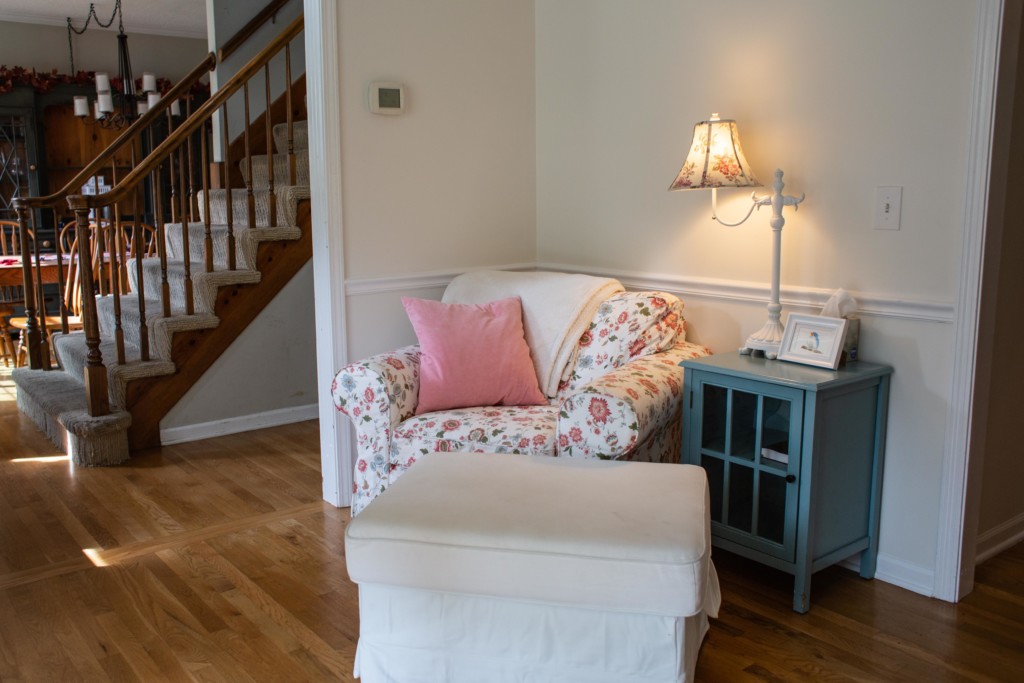
Look at this cozy area! I already had the nightstand (a Target find several years ago. I don’t think it is available any longer) and lamp. The chair and ottoman are the Ektorp (again, from IKEA).
The Hemnes bookcase to the left of my dressers/countertop, was the perfect size for that wall. Now I’ve got all of my art, watercolor, mixed media and lettering books nearby. I love it!
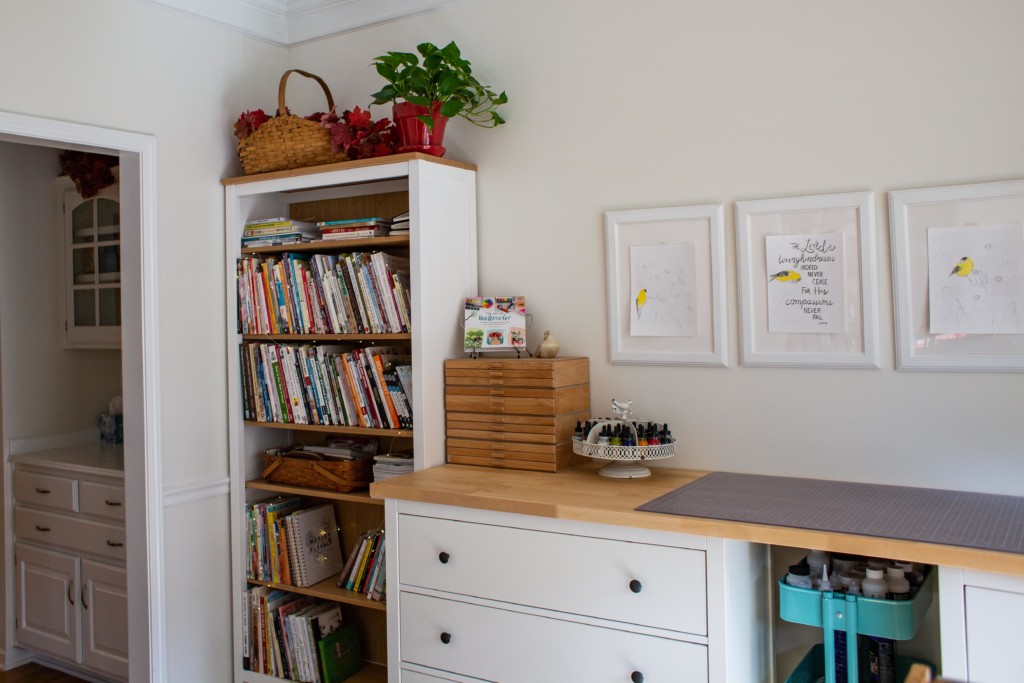
The stacks of wooden drawers on the countertop hold my colored pencils, watercolor pencils and some pens. The rolling cart below the countertop holds mixed media supplies.
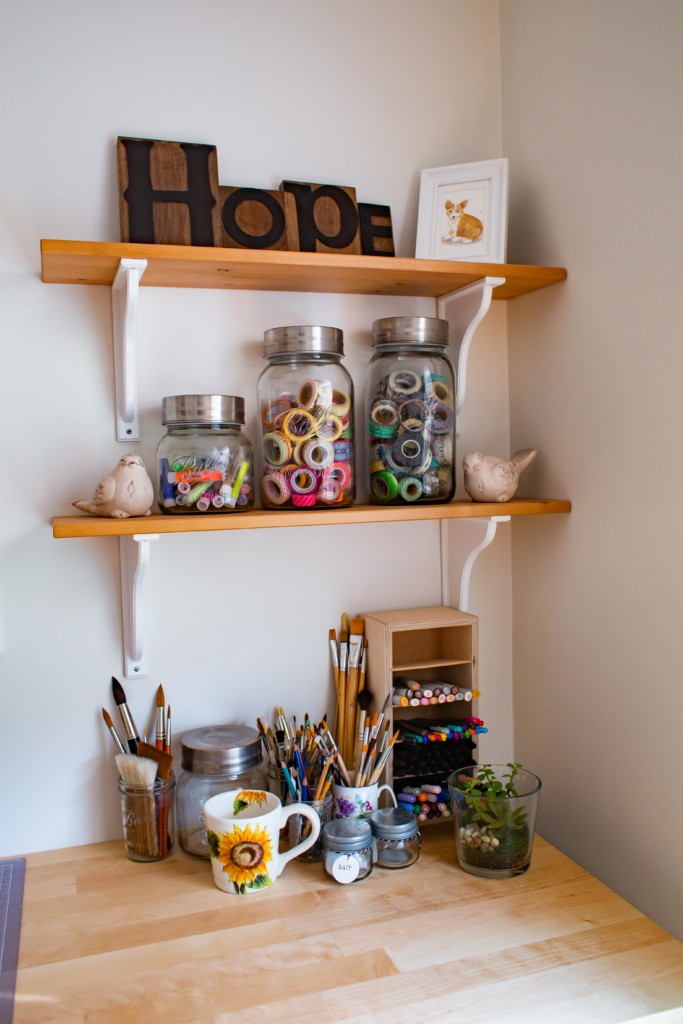
This bright space makes me so happy. I spend so much time creating in this room now.
Thanks for stopping by for a tour. Please leave any questions or comments below and I’ll do my best to get back with you.
Sources:
Rolling cart under countertop (I don’t believe that IKEA has the teal color any longer, sadly)
Photo frames on wall
Hanging wall shelves (similar- I used wood shelves and white supports)
Rolling chair at drafting table
Wooden drawers for colored pencils
Clear cutting mat on countertop
Giant round Robax watercolor palette on drafting table
Wall Color: Sherwin Williams Alabaster

Susan, You have such an eye for creativeness and beauty. Thank you for blessing all of us with your gift.
Janice, thanks for the kind comment. I had fun decorating. Now I’m anxious to paint and update our kitchen a bit!
WOW…Susan!! Your Studio looks AMAZING…LOVE how you showed each section of the room and how you did it!!
Maybe You could go into designing/redecorating rooms on the side and in your “spare” time–HaHa!!
Love in Christ,
Gina
Ha! I don’t know about redecorating rooms on the side, but I have considered offering to assemble IKEA furniture as a side hustle! I actually enjoy it. 🙂
I just LOVE everything! It all looks so nice and comforting! Love your hair and hope you open an Etsy shop with your artwork!
Heather, you have no idea how much that encourages me. I actually do have an art shop here on this website, which I will be updating soon with new prints. I’ll be sure and post once it’s live!
Wow, you have created such a beautiful space! I especially like the chair and ottoman. What a lovely place for you to spend your time and create your beautiful works of art!
Thank you Trish! Yes, that chair and ottoman have become a favorite hang-out spot for me and my boys!
Belatedly coming to finally see your studio Susan. What a lovely clean and bright space!! I am always looking for other ideas for my studio, but accommodating a 27″ iMac on a deep surface and a single bed. It will come!